VERAULT
Veteran Member
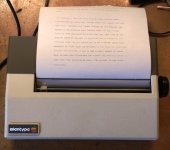
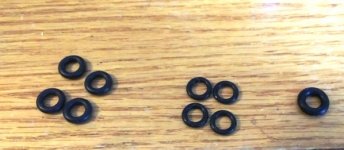
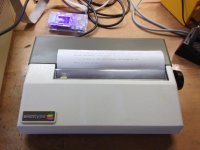
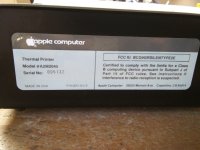
Over a year ago I received an Apple Silentype Printer in somewhat sad shape. It has a serial number of 5132 so that seems pretty low to me. I have been restoring the printer trying to get it back to 100%. I replaced the single capacitor on the board. I cleaned the print rails thoroughly as they were completely covered in gunk. I cleaned the Platen Rod and rubber rings (basic O-rings) which were gross. Retrobrighted the front plastic cover and buffed the paint on the rear metal paper cover.
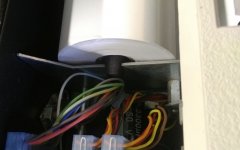
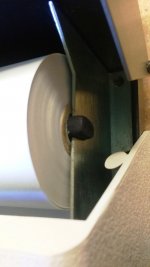
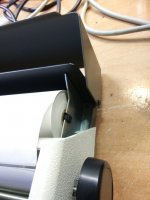
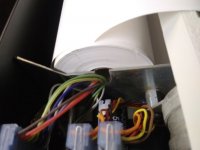
The main problem with the printer is it wont pull paper. Cleaning the rubber and rails helped but we are not there completely. The printer only came with one of the two spring pins which the roll of paper rides on. Odd thing, the core of the roll is a different size diameter hole on each side?! I have the smaller spring pin/plug.. but missing the larger diameter pin.
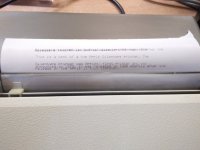
So here is the problem. The printer will print 2 or 3 lines of text but when it has the paper taut it has trouble pulling in paper and starts printing over the previous line since It cant form feed. I feel this is because there is a slight cockeye since the roll of paper is only really resting on one pin. With the second pin the paper will be lever and the weight distributed.
The only workaround I have come up with is to feed out 4 or 5 inches of paper and then using the platen to roll it back in. This takes tension off the paper so it can be printed to and fed. Any more it starts printing over lines again.
Anyone have this plug or know of a 3d printed replacement? I really want to get this thing functional.


Last edited:

